Install Jenzabar CX 10 for Mac
NOTE:
- The desktop version of Jenzabar CX will not run on wireless networks (including Pomona wireless) or VPN. You must be on campus and connected via Ethernet for the software to connect properly.
- To install Jenzabar CX 10 in Windows, please click here.
- If you need to use Jenzabar CX while off campus, please use the CX Desktop in Azure Virtual Desktop. If you do not see a CX Desktop available, please contact ITS for assistance.
The instructions below will show one how to install Jenzabar for Mac.
Steps:
-
Please click here to download the latest Jenzabar CX installer and the 'cx_config.ini' file.
Authenticate your Pomona College credentials.
- Run the downloaded installer. Click Continue and Install with all the default values.
NOTE:
- You might have to CTRL click on the installer and select Open to get passed the Mac OS security.
-
In Sequoia and above, you might have go into Privacy & Security in System Settings and approval the launch of the the installer
- Once the install completes, don't run the software yet . Click Close.
- Navigate to the folder: /Users/*username*/.config/Jenzabar/
- Open Finder.
- Select the Go menu (at the top) and select 'Go to Folder…'.
- Enter /Users/<username>/.config/Jenzabar/ . Then, click Go .
NOTE: Enter your own username in place of <username>.
- Replace the cx_config.ini file in this directory and with the cx_config.ini file from the Downloads folder.
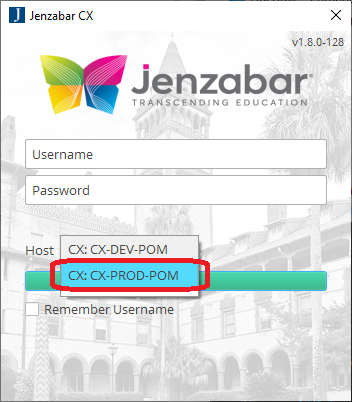
- Launch Jenzabar using the icon in the Applications folder.
- If not already set, change the Host option to 'CX: CX-PROD-POM' . Then, log in using your CX credentials.