TimeLineJS - WordPress

Using TimeLineJS with WordPress
TimelineJS is an open-source tool that enables anyone to build visually rich, interactive Timelines.

If you experience issues with TimeLineJS, you may refer to the additional documentation or contact the ITS help desk at 909-621-8061 or servicedesk@pomona.edu. Additional video tutorials are available via Pomona College ITS at https://app.vidgrid.com/content/niPVwxoJ6aU7.
Getting Started
-
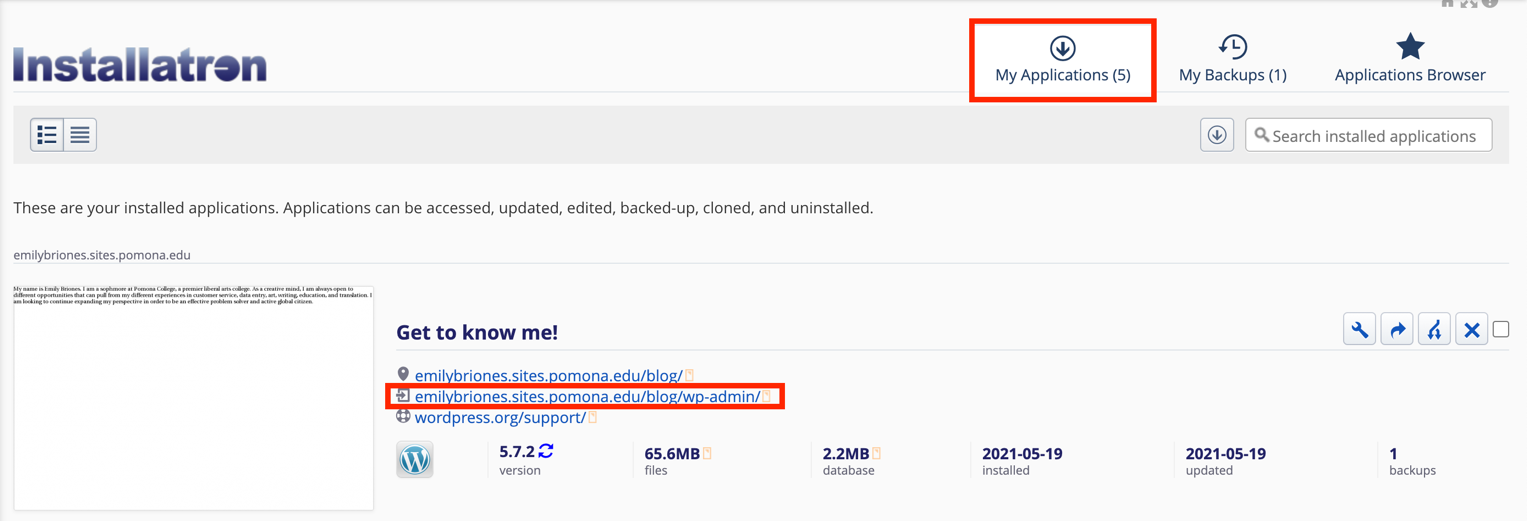
Log into https://sites.pomona.edu/dashboard/
- Click on the dashboard tab
- Under applications, select “All Applications”
- Select the “My Applications” tab
- Select the middle link to the side of your WordPress site to create and manage changes

Installing the Knight Lab Timeline Plugin
- In your dashboard, select “Plugins”
- At the top select “Add New”
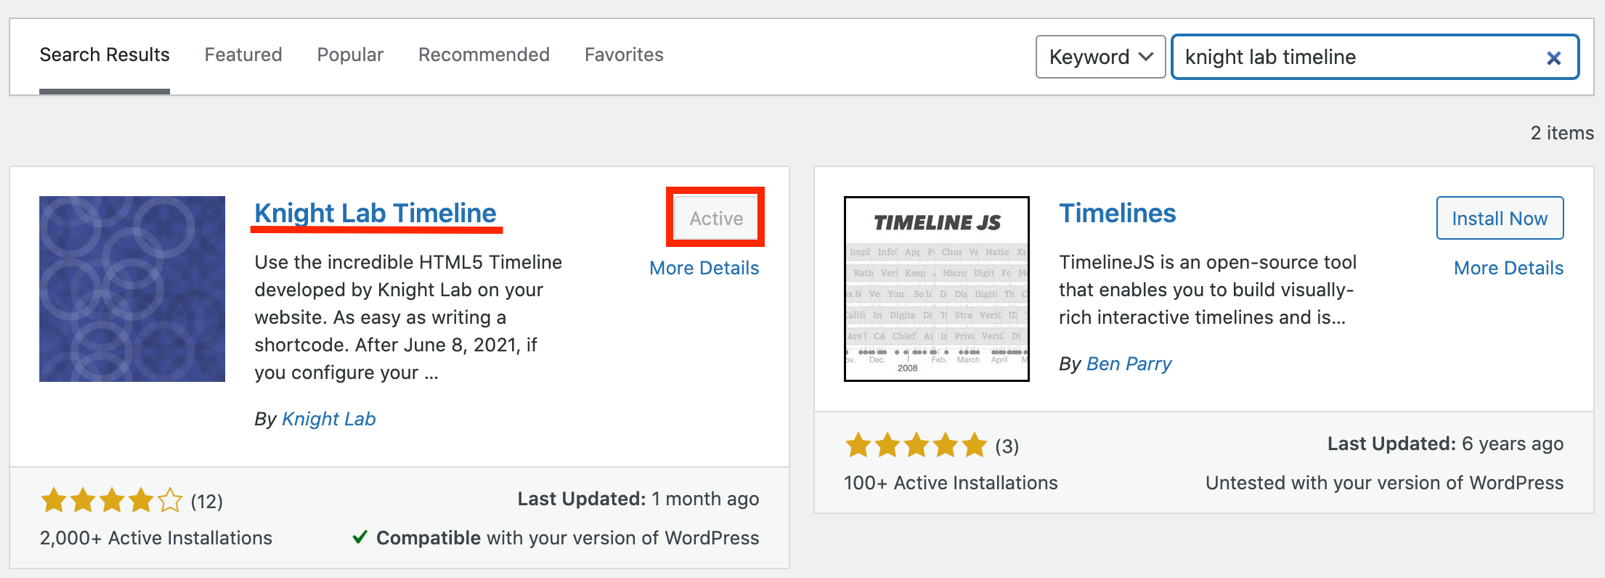
- In the search box that appears, look up “Knight Lab Timeline”
- Select the “Install Now” button on the “Knight Lab Timeline” plugin that appears
- From there, select “Activate” or go back to your “Plugins” tab to click “Activate” on the “Knight Lab Timeline” plugin

Users have the option of inputting their Timeline into either a post or page. For each option, simply follow the steps below. Begin with selecting the page or post tab and then clicking on the post or page that requires editing.
Inputting your TimeLine with ShortCode
- Select the “Pages” tab
- Click on the Page you want to input your Timeline into
- Select the “Add Block” button
- Search for the “Shortcode” block
- Adjust the following shortcode as needed: [timeline width="800" height="600" maptype="watercolor" src="Your source url here"]. For the source URL, use the URL of the Google spreadsheet you used to create your Timeline, not the one TimeLineJS generates for you. We recommend leaving the map type as it is, but users can change the sizing of their Timeline by adjusting the width and height numbers. Input the source code into the block when ready.
Inputting your TimeLine with the Embed Block
- Select the “Pages” tab
- Click on the Page you want to input your Timeline into
- Select the “Add Block” button
- Search for the “Embed” block
- Input the url of the google spreadsheet you used to create your Timeline, not the one TimeLineJS generates for you.
Whether you are inputting your Timeline using the embed block or the shortcode block, when done you can select the preview button to ensure you are satisfied with the results. When you are ready, return to the page or post you were editing, and select the update button.