Recording a Zoom Meeting as a Host
Local Recording: https://support.zoom.us/hc/en-us/articles/201362473-Local-recording
Cloud Recording: https://support.zoom.us/hc/en-us/articles/203741855-cloud-recording
Zoom is a cloud-based meeting tool which combines video conferencing, online meetings, and mobile collaboration into one platform. Its dependable, high-quality and easy to use design have made it so much easier for groups around the world to connect and collaborate.
If you experience issues with Zoom, you may refer to the additional documentation or contact the ITS help desk at 909-621-8061 or servicedesk@pomona.edu. Additional documentation is available via Pomona College ITS at https://ritg.pomona.edu/resources/instructional-continuity or the Zoom online knowledgebase: https://support.zoom.us/home.
Zoom allows you to record meetings on the cloud or on your computer.
Cloud vs. Computer Recording:
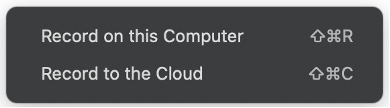
Decide whether you want to record on your computer or the cloud.
If you want to easily and quickly share your video, you should record it on the cloud.
o If you scheduled your meeting through Sakai, the cloud recording will automatically be available to students on Sakai under the zoom tab.
o Note: The recording will either show active speaker view (only the person who is speaking) or gallery view (everyone). It cannot switch between the two layouts.
o The recording will show whatever you are looking at. So, if you switch from active speaker view to gallery view, the layout of the recording will also switch.
Adjusting Cloud Recording Settings
Change any settings before you begin recording. Once a recording is made, you cannot change these settings in the recorded file.
Log into your zoom account by going to pomonacollege.zoom.us and clicking Sign In.
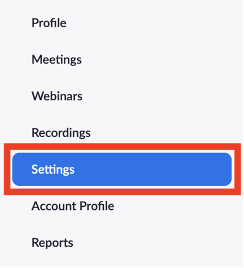
Click Settings from the menu on the left side of the screen.

o When recording to your device, you do not have to do this because the recording layout will match the layout of your screen.
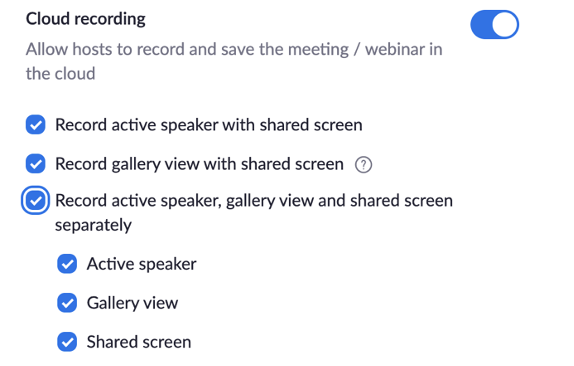
o If you choose multiple of these layouts, multiple video files will be saved. If possible, try to choose just one because it makes sharing the video much simpler.
o Record active speaker with shared screen: Check this if you would like the cloud recording to switch between showing the active speaker and the shared screen if/when a screen is shared.
o Record gallery view with shared screen: Check this if you would like the cloud recording to switch between all participants (unless they cannot all fit on the screen) and shared screen if/when a screen is shared.
§ Note: If two or more speakers do not have their camera’s on, the recording layout will switch to active speaker view instead of gallery view, even if gallery view was selected.
o Record active speaker, gallery view, and shared screen separately: Check this is you would like to record only the shared screen, only the active speaker, or only the gallery view.
§ If checked, additional options will appear where you can choose which of those options you would like to record.
o If you choose to save chat messages, anyone you share the recording with will be able to see the public chats (private chats will not be shown).

o Add a timestamp to the recording: if you check this, the time and date of the meeting will be shown in the bottom right corner of the recording.

o Display participants’ names in the recording: If you check this box, participants’ names will be shown in the recording.
o Record thumbnails when sharing: Check this if you want the presenter’s video to be visible in the upper right corner when a screen is shared. If this is left unchecked, the recording will only show the shared screen.
o Optimize the recording for 3rd party video editor: If you plan to use a 3rd party editing software (VidGrid, iMovie, etc.), it is a good idea to check this box.
§ In general, if you plan on using a 3rd party editor, save the video on your computer instead of on the cloud.
o Audio transcript: The audio of your video will be automatically transcribed and appear as captions on the side of your video.
o Save panelist chat to the recording: This is only applicable if you are hosting a webinar. If checked, messages sent to all panelists and all panelists and attendees will be visible to viewers of the recording.
Adjusting Computer Recording Settings
Open the Zoom application on your computer. Click on the small settings icon in the upper right corner.

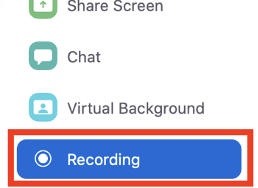
2. From the menu on the left side, click on Recording.
3. Adjust the local recording settings.
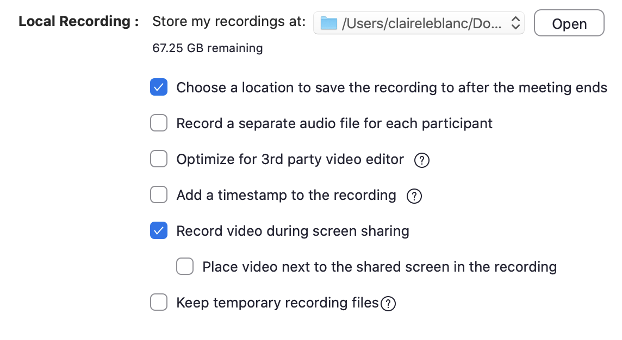
a. To see where your recordings are stored, click the Open button next to “Store my recordings at.”
b. To change where your recordings are saved, click the folder name to the left of the Open button and then click Choose a new location.
c. Choose a location to save the recording: Click this if you want to choose where each individual recording is stored. If this is turned off, they will all be automatically stored at the location you chose above.
d. Optimize for a 3rd party video editor: Check this is you plan to edit your recording using VidGrid or another editing software.
e. Add a timestamp to the recording: If you check this, the time and date of the meeting will be shown in the bottom right corner of the recording.
f. Record video during screen sharing: If you check this, the presenter’s video will be recorded in addition to the shared screen. If not, only the shared screen will be recorded.
i. If you do check this box, you will have an additional option. Check the box next to “Place video next to the shared screen” if you want the presenter video next to the shared screen. Otherwise, the presenter video will be in the upper corner of the shared screen.
g. Keep temporary recording files: The recording is converted to a different format before being saved to your computer. Check this to save the original recording temporarily. This will be helpful if anything goes wrong.
Recording a Zoom Meeting:
Go to the bottom menu bar and click the record button.

2. You will have the option to record on the cloud or your computer. Click where you would like to record.
3. Your meeting will begin recording. In the upper left corner, it will say that it is recording. Participants will also be able to see that it is recording.

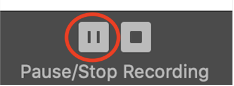
4. To pause a recording, click the pause button in the upper left corner or click the pause button in the bottom menu bar.

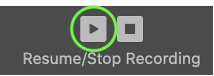
5. To restart the recording, push the play button in the upper left corner or the bottom menu bar.

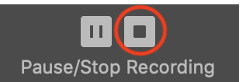
6. To end the recording, click the square button at the top of the screen or in the bottom menu bar. Additionally, if you end the meeting, the recording will also end.

7. Once the meeting ends, your recording will be automatically uploaded to your computer or to the cloud. If you recorded on your computer, a pop up will appear showing upload progress.
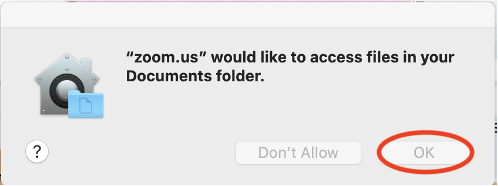
a. If this is your first time recording on your computer, you may also have to give zoom access to your documents folder. Click OK on the alert that pops up.
Accessing and Sharing your Recording:
Open the Zoom app on your computer.
2. Click on the Meetings icon at the top of the page.

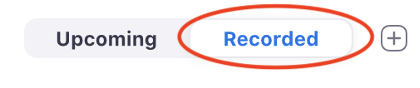
3. Click on recorded. Here you will see all the videos you have recorded: both on the cloud and your computer.
4. Click on the meeting recording you would like to access and then click on the blue Open button.

5. If recorded on the cloud, this will open to the recording in a web browser (you may be prompted to log in using SSO first).
a. Click the share icon in the upper right corner
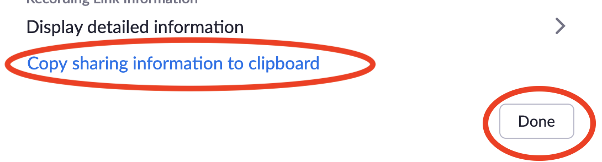
b. Adjust any share settings then click Copy sharing information to clipboard. The link to the recording will be copied as well as the password (if you enable password protection). You can now paste this invitation to Sakai or email.
c. If you recorded multiple files with different layouts, you can share each file individually. Mouse over the file you want to share and click the share icon. The link to the video will be copied to your clipboard.
i. Make sure you also give viewers the password (found by clicking the share button) so they can view the video.

6. If you recorded on your computer, clicking on the blue open button in the zoom app will take you to a folder containing the recorded meeting as well as audio-only recordings. This folder is located inside a folder called Zoom, which is located inside your documents folder.
a. To share the video, you can upload it to box.
b. To edit the video, you can upload it to VidGrid.